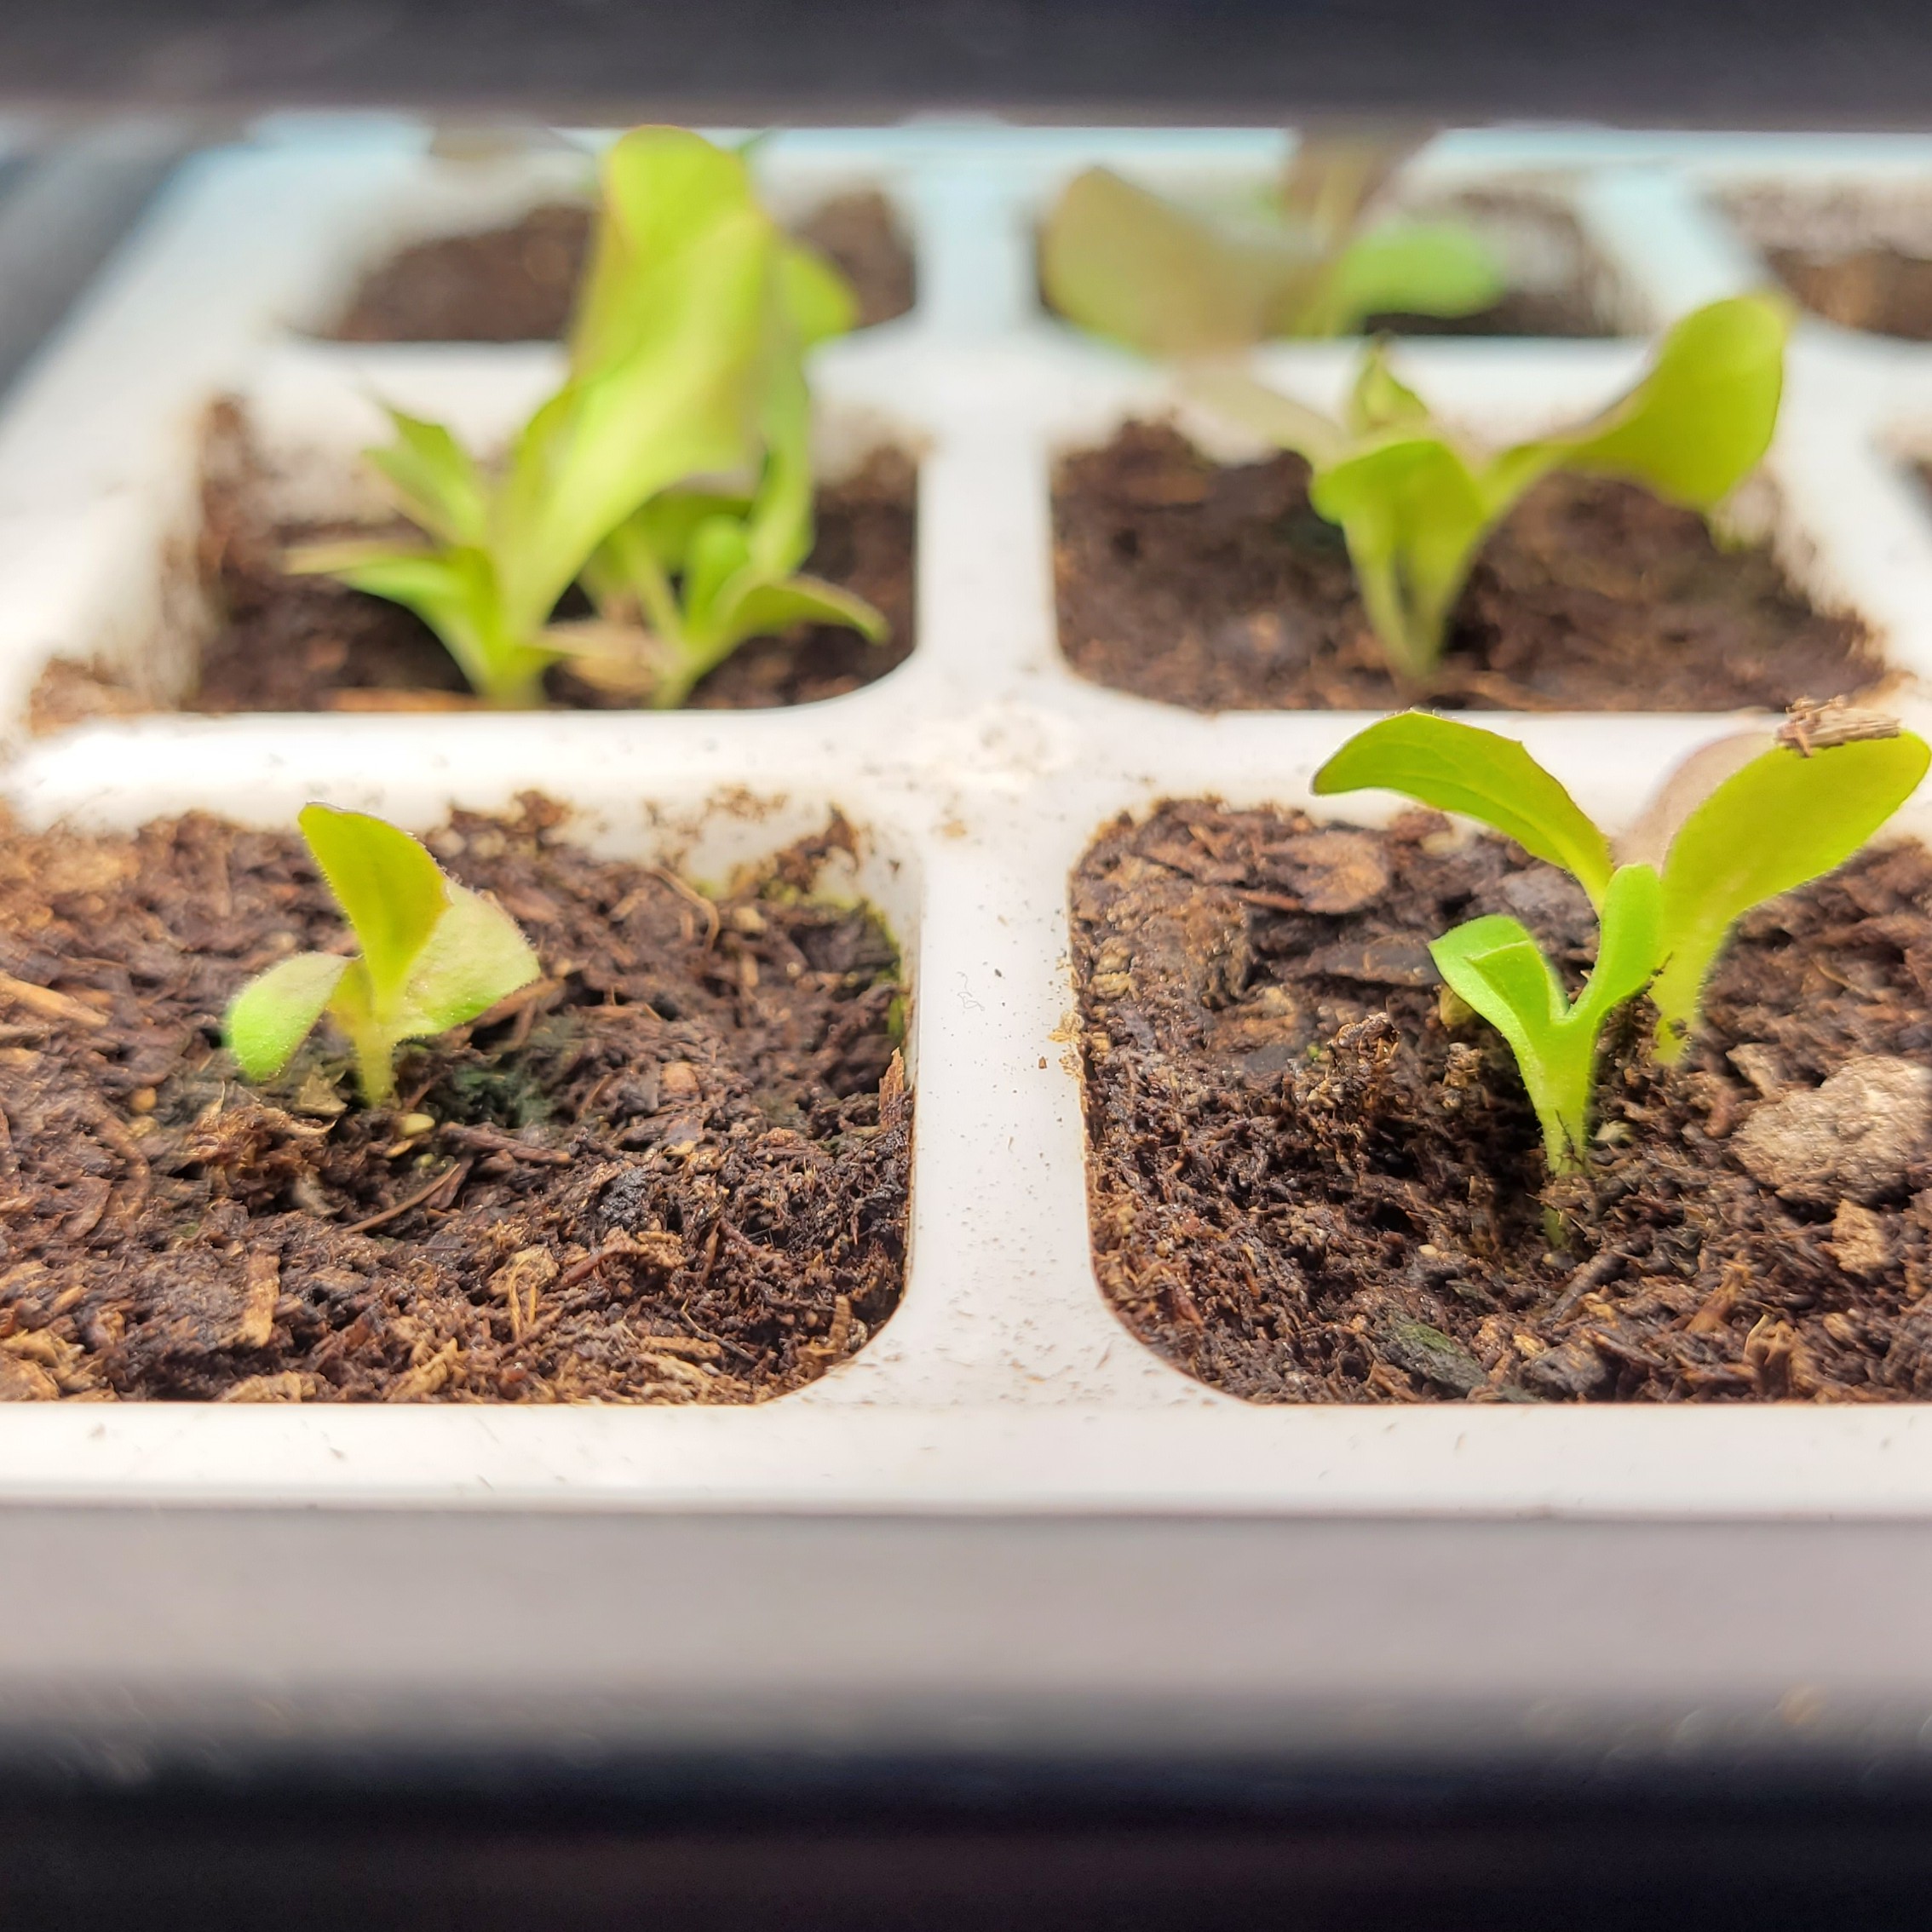
Indoor seed starting is one of the most rewarding parts of growing your own food — especially when space is limited. From choosing the right seeds to transplanting hardy seedlings outdoors, this guide walks you through the full process step-by-step.
Why Start Seeds Indoors?
Starting seeds indoors gives you a head start on the growing season. This is particularly helpful when:
- Your frost-free season is short
- You only have containers or raised beds
- You want stronger plants with better yields
When you start indoors, you control light, warmth, and moisture — and give tender plants the best possible beginning.
Starting indoors also allows:
- Higher germination rates
- Earlier harvesting
- Broader crop choices
Seeds like tomatoes, peppers, basil, and eggplants especially benefit from an early start indoors, because they require more time than the outdoor season allows.
Equipment & Space You Need
Here’s what a practical indoor seed-starting setup looks like:
1. Containers
- Reusable seed trays or cell flats
- Small peat pots or recycled containers
- Labels and markers
2. Soil
- Light, soilless seed-starting mix
- Avoid heavy garden soil indoors
3. Light
Seedlings need strong light once they emerge.
- Full-spectrum LED grow lights
- Place lights 4–12 inches above seedlings
- Aim for 14–16 hours of light per day
4. Temperature
- Ideal soil temperatures for germination: 65–80°F
- A heat mat can help warmth-loving plants (e.g., peppers) germinate faster
5. Watering Tools
- Fine-misting spray bottle
- Small watering can

When to Start Seeds Indoors
Timing depends mostly on your last expected frost date.
As a rule of thumb:
- Tomatoes: 6–8 weeks before frost
- Peppers & basil: 8–10 weeks
- Cucumbers: 3–4 weeks before transplant
Check your local frost dates and adjust accordingly.
Step-by-Step Indoor Seed Starting Guide
1. Prepare Your Trays
Fill trays with moistened seed-starting mix. Do not let them dry out.
2. Sow Seeds
- Check each packet for depth and spacing.
- Generally, sow seeds at a depth about twice their diameter.
3. Provide Light & Warmth
After germination:
- Move trays under lights immediately.
- Maintain 14–16 hours of daily light.
4. Keep Moisture Consistent
- Keep soil barely moist — not soggy
- Too much water encourages damping off

5. Up-Pot When Necessary
Once seedlings have 2–3 true leaves, transplant them into slightly larger pots.
6. Harden Off Before Moving Outdoors
Before planting outside:
- Gradually acclimate plants to outdoor conditions
- Start with shaded, protected exposure, increasing time over several days
Common Mistakes & How to Avoid Them
Too Little Light
Weak, leggy seedlings are the result of insufficient light.
Use adjustable LED lights and keep them close.
Starting Too Early
If seedlings outgrow lights before frost danger passes, they become weak.
Aiming for proper timing prevents wasted effort.
Over-watering
Seedlings don’t need a swamp.
Use a gentle mist and ensure good drainage.
Leave a Reply